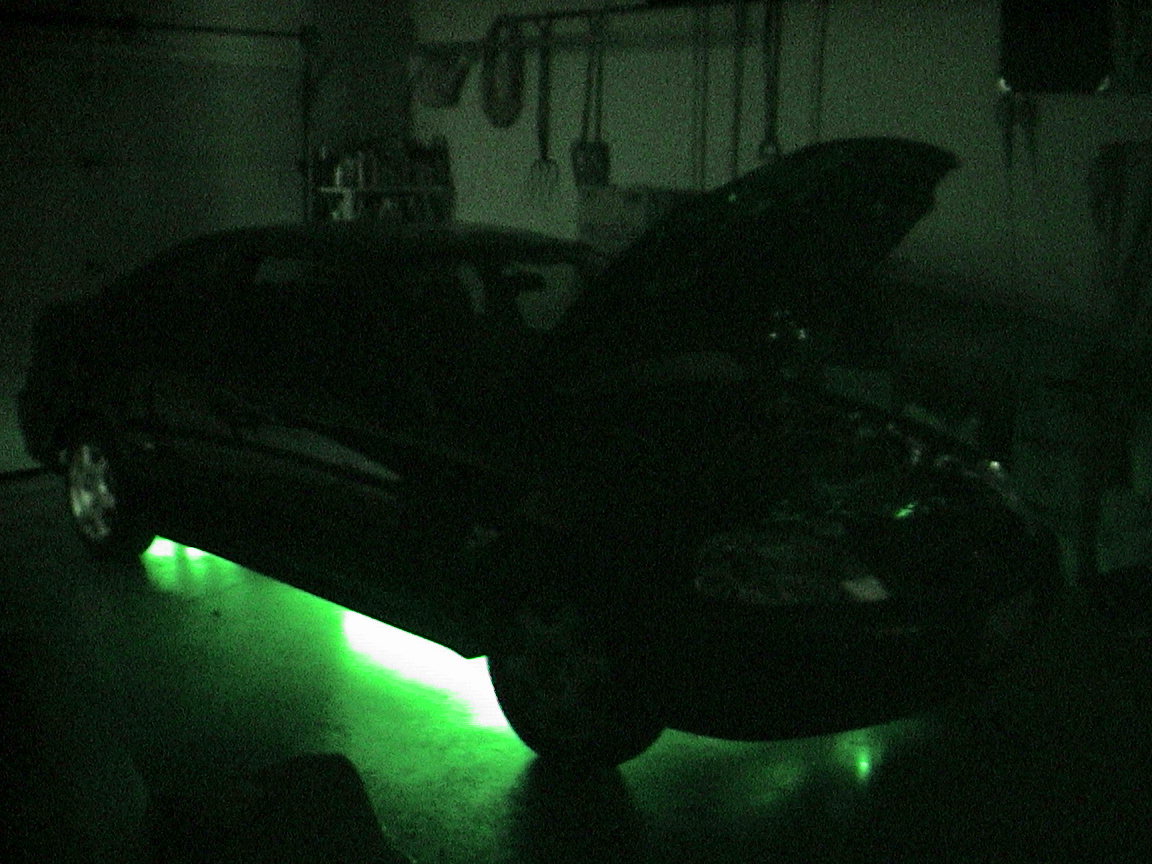
An undercar kit is a great way to get noticed, possibly one of the best if you want everyone to notice you. If you have some expensive body kit, 19" rims and a few kickass decals, some 40 year old lawyer isn't going to give a damn what it looks like and they'll think nothing of your work and hard earned money invested into the car because they don't know the game. You can be seen a mile away and picked out of a hundred vehicles on the street with an undercar kit. It's different, it's somewhat rare and it's overall just plain cool. If you're going to get an undercar kit that lasts more than a week, (and if StreetGlow's doesn't, you get a replacement compliments of their lifetime warranty...) get a StreetGlow Gold Series. This is definately the best and most likely the easiest. You connect each tube to the next and connect the ends to a transformer and then to the battery and you've got yourself a glow. A bright glow. I would highly recommend a set if you have the means.
It seems simple enough, it comes with simple directions: Stick the lights under the car and wire 'em up. They're even kind enough to post the directions online and send some with the box. That's fine and dandy for a wiring diagram, but once you get ready to start drilling the lights in, it's a bit more complicated than it looks. If you haven't had experience with this, you may be in trouble.
What this HOW_TO does is tell you where to put the lights and where to put the wires. StreetGlow gives you a pretty good idea of how to, so we won't go there.
These instructions were created using a 2000 Civic EX, which means it's almost definately applicable for a 96-2000, and maybe a 2001 and up, but I can't vouch for the '95 and belows. Sorry guys.
To begin with, I'd like to stress the instructions by saying test your bulbs before you put them on. It's a little easier that way. Now, the first thing your going to need to do is jack your car up in the front. There are supported pieces underneath each side of the [front] doors, behind the front tires. Use these to jack up on. Next you want to find a good place for your transformer. Make sure you disconnect the negative ground wire to your 12V car battery first. What I did was unscrew the battery's ground wire and move the screw up one notch. Then I drilled a larger hole in the transformer, above the original hole, away from the side with the red wire. This made the screw that held the battery's ground wire double as a holder for the transformer. If you do it this way, only the ground screw is really needed, then you've already got your transformer ground.
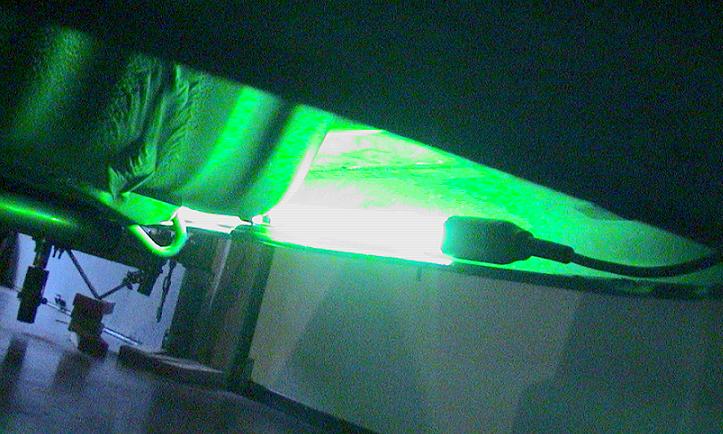
Next is the drivers side light. This ones considerably easier to install, but may require a few shorter screws if at all possible. You're going to be screwing up into the floorboards, and those long screws that they give you are going to be poking your feet bad if you use them. You need enough little screws to do both of the sides, so get at least ten, and they should be pointed. Now get up underneath the drivers side with the tube. There's a graded plastic cover running from the front to the back. Next to that, (towards the passengers side) is a good place to run the light. It will be laying flat at the beginning (by the engine) but at the end it will be suspended in the air. This is alright. Just screw in 4 out of 5 of the clamps and you'll be good to roll. You'll need the unused 5th later to hold a wire anyways. To screw in the clamps, however, you're going to need a drill because behind the rubber coating is metal. Drill right through the metal and stick the pointed little screws that you got earlier (with the clamp) in the hole. The hole doesn't necessarily need to be as big as the screw, and it definately shouldn't be bigger, just a hole to get it started and you can put the screw in nice and easy after that. Try your hardest not to put the drill all the way through when you hit the other side because it's going straight up into your carpet.
The back light is the easiert to do. Mount this to your bumper, right at the edge. There are two twist screws in either side towards the middle of the bumper. Put the light right up next to those and screw it in. Once again, there may be some clamos you won't be able to get to. Don't worry about them, As long as you have at least two (one on either side, mind you) you shouldn't have any problems.
The passengers side is a lot like the drivers side, except in a different location. Underneath it's mainly flat, but more towards the center there's a long bump that travels from the front to the back. Put the light on the side away from the passengers door, right up next to this bump. It should be perfectly flat and the easiest to drill in. Once again, use the little screws and drill a starting hole.